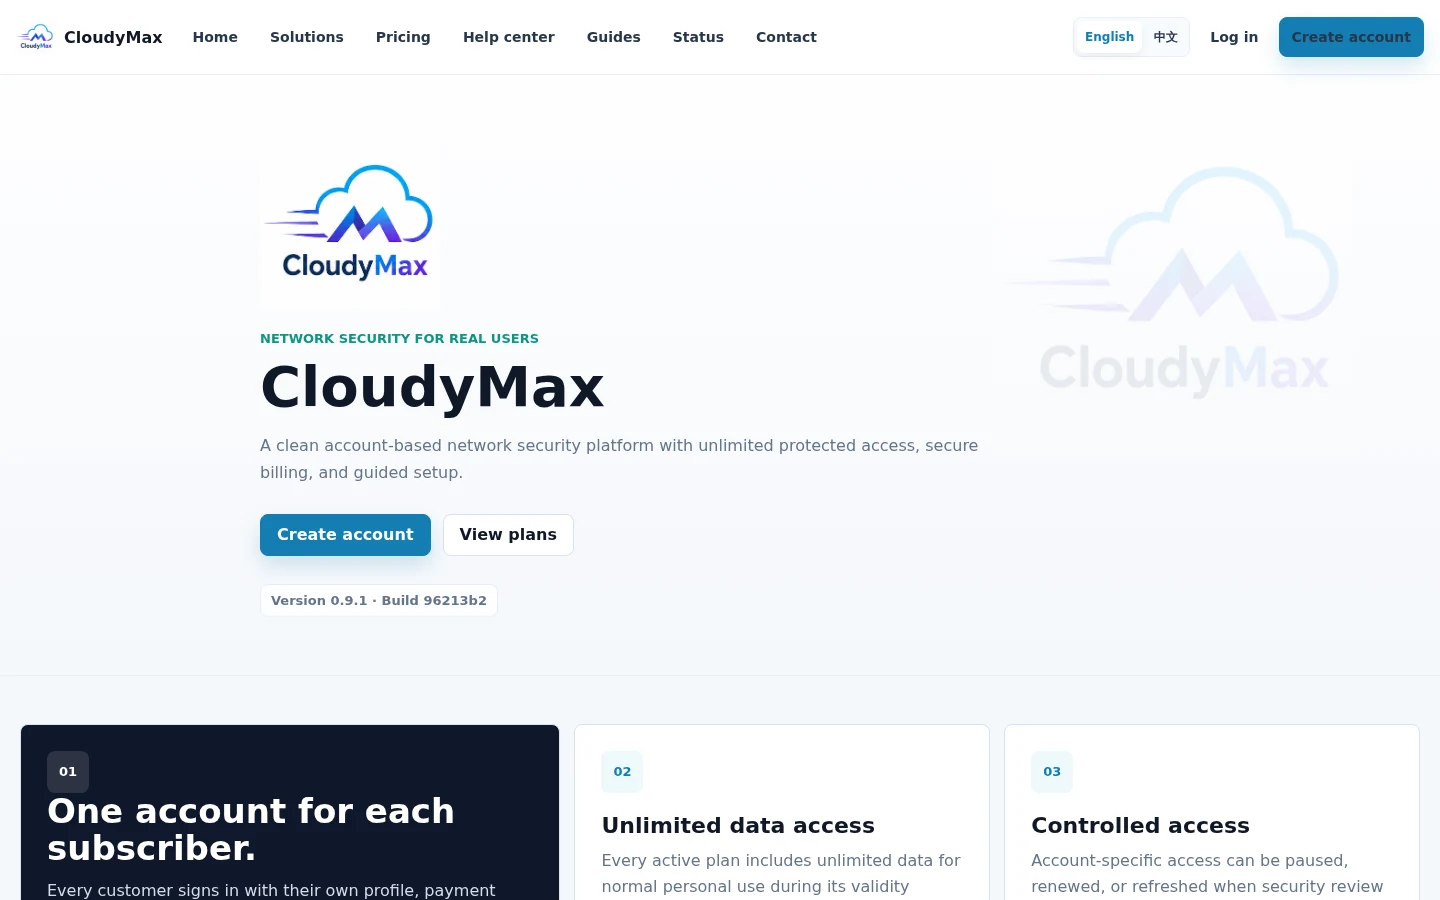
Open CloudyMax and choose your language
Visit cloudymax.com and choose English, Chinese, Persian, or Arabic from the language control. Select Create account when you are ready.
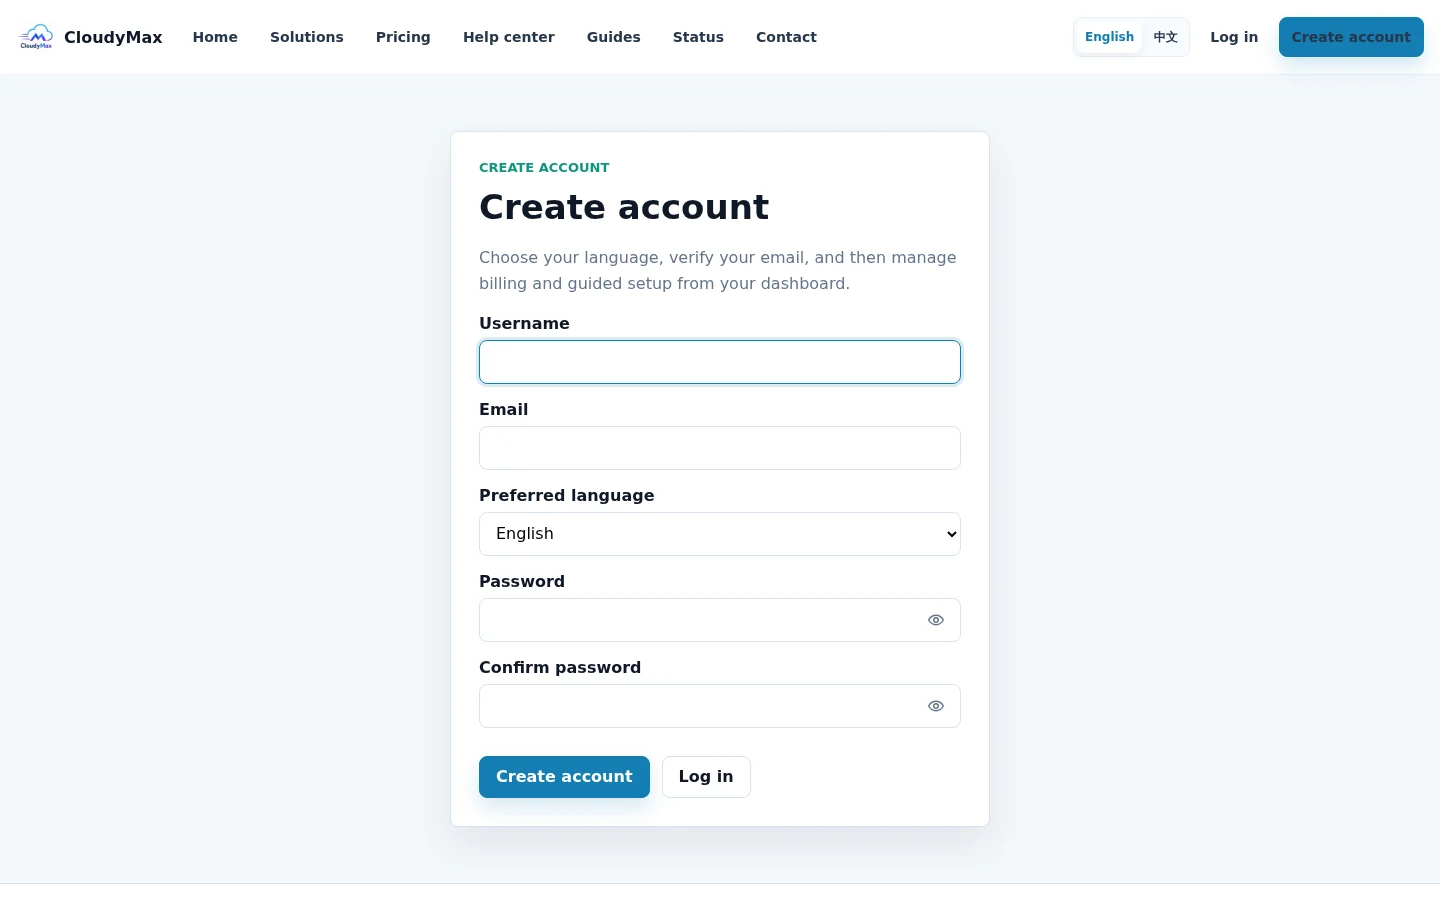
Create your account
Enter a unique username, an email you can open, your preferred language, and a strong password. Complete the anti-bot check and submit the form.
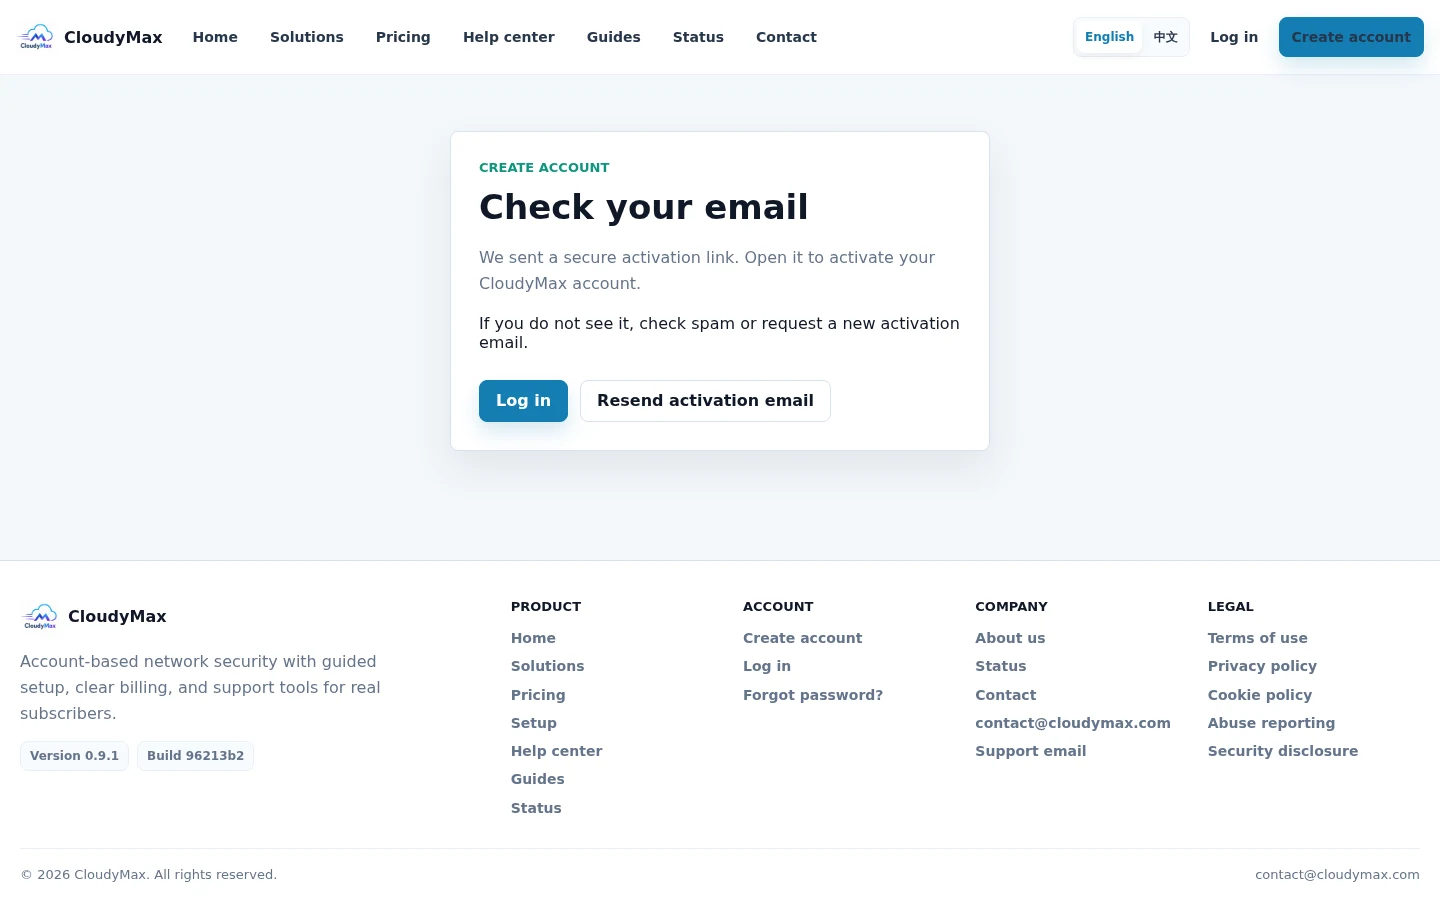
Verify your email
CloudyMax sends a secure activation link. Open the message and select the activation button before trying to sign in.
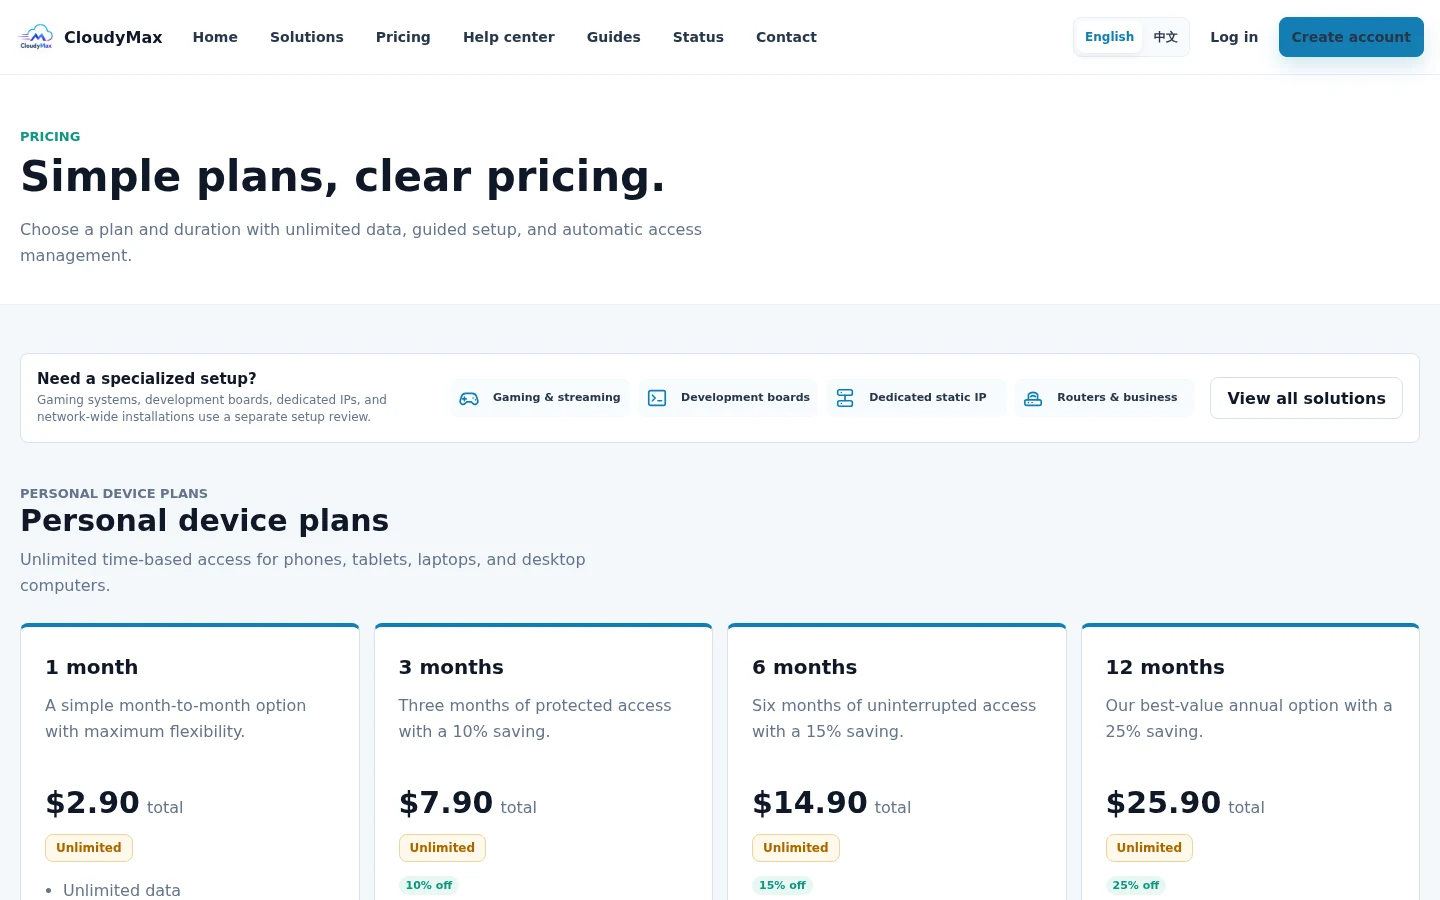
Choose a plan and duration
Open Pricing or Billing. Choose 1, 3, 6, or 12 months, review the total, and continue to secure checkout.
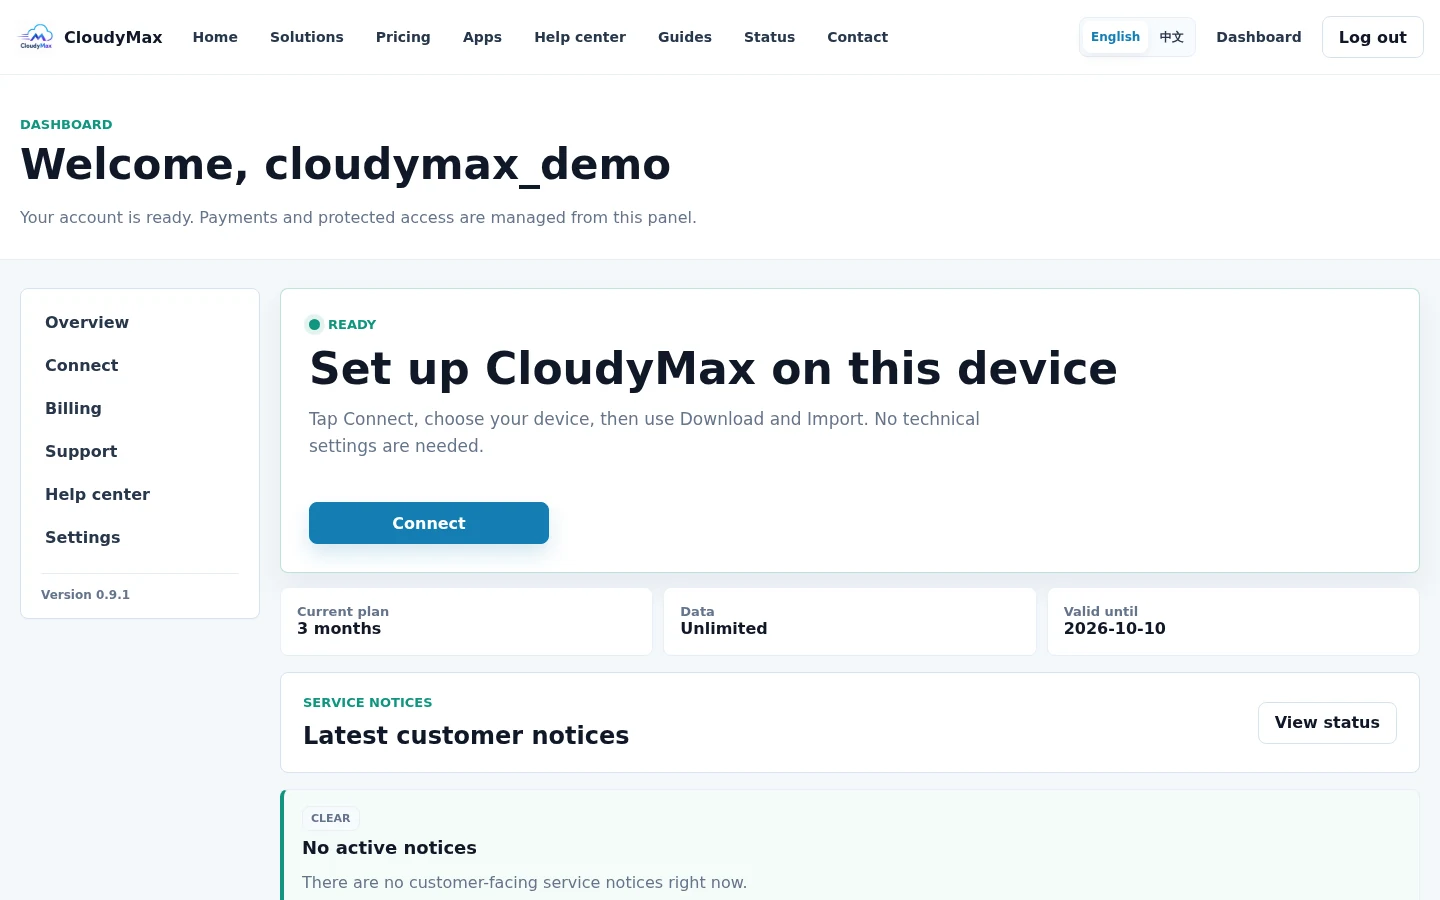
Follow the dashboard next action
After payment is confirmed, the dashboard changes to Ready. Select Connect to continue; you do not need to choose a server or country.
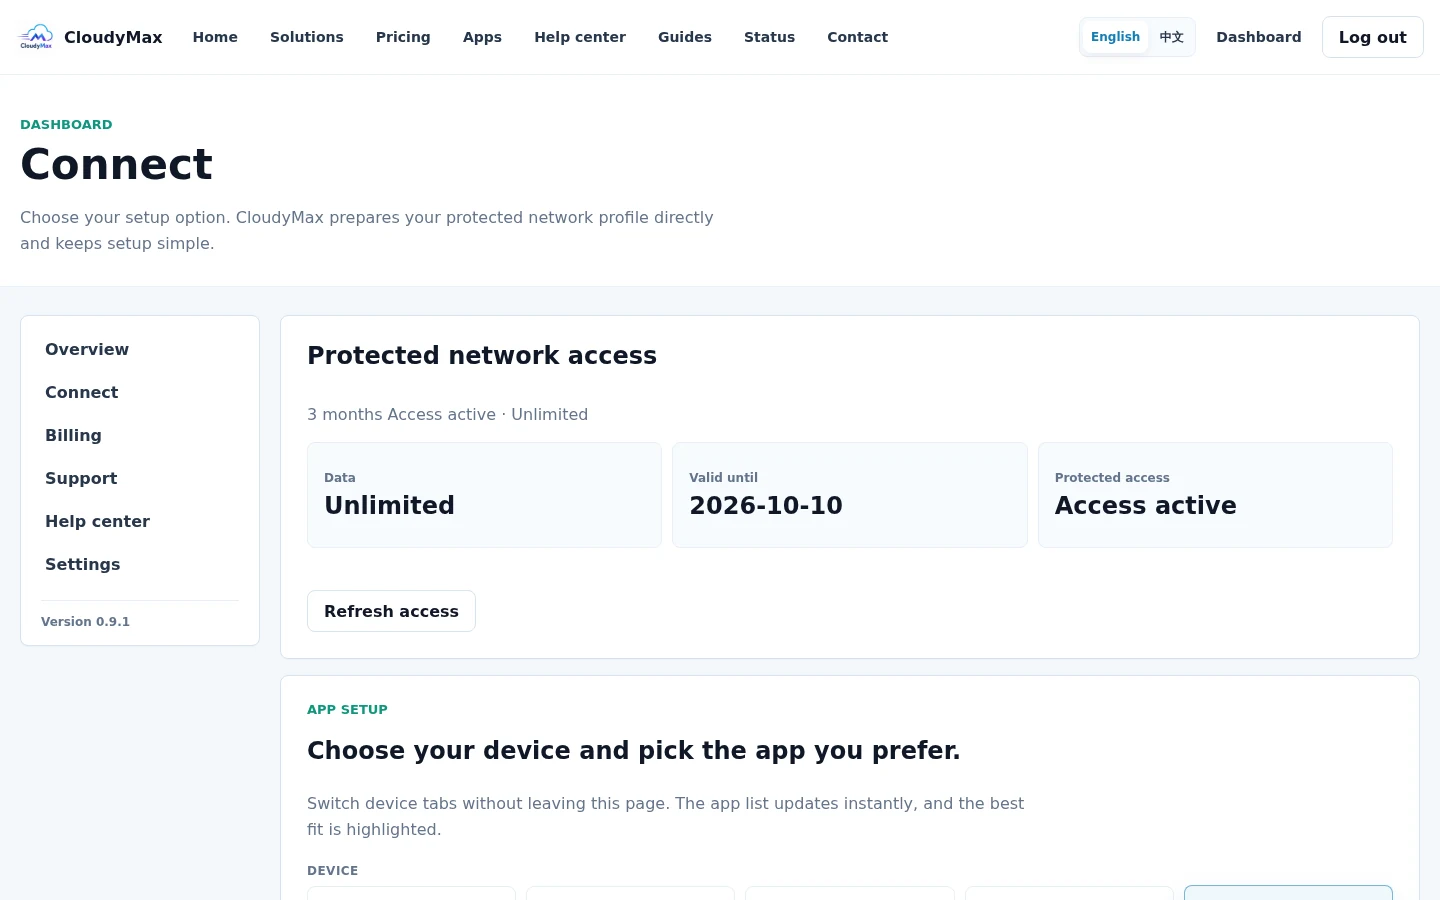
Choose your device, import, and connect
Open Connect, choose your device tab, download a supported app from the official source, return to CloudyMax, and select Import. In the app, select the imported CloudyMax profile and tap Connect.